Basic WebMatrix Editing
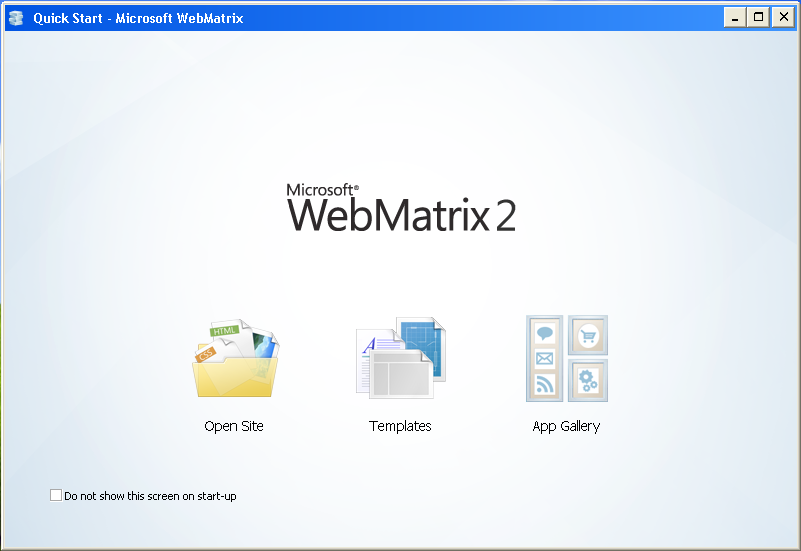
1) Run WebMatrix 2
2) Open your first Web Site project
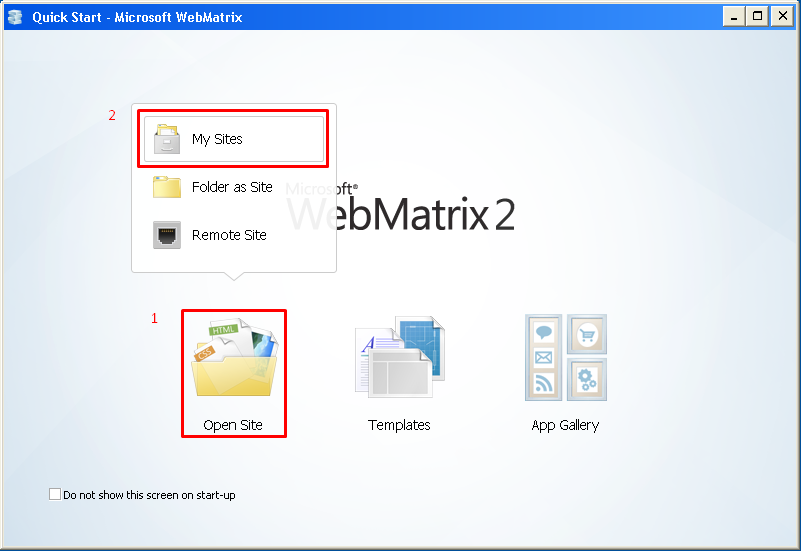
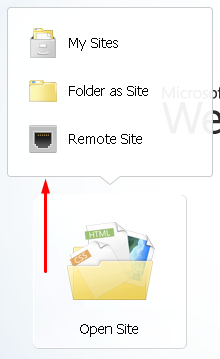
2.1) Select Open Site/My Sites.
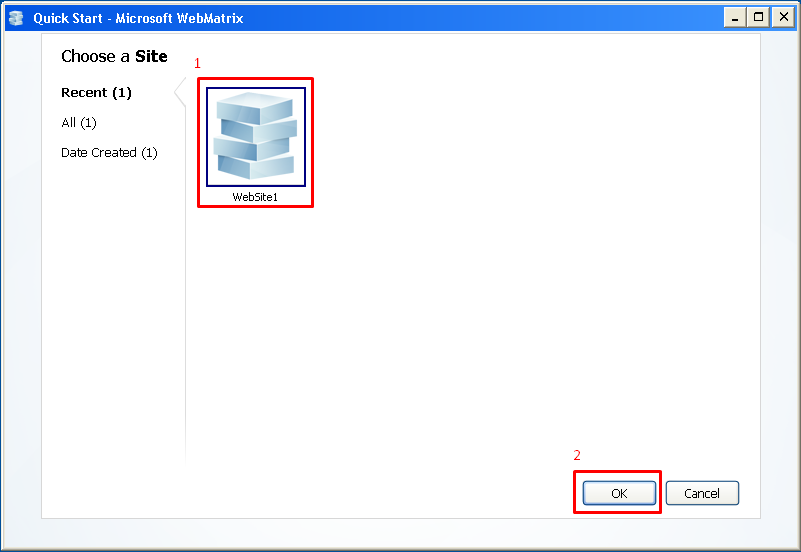
2.2) Select WebSite1
3) Understanding the Development Environment
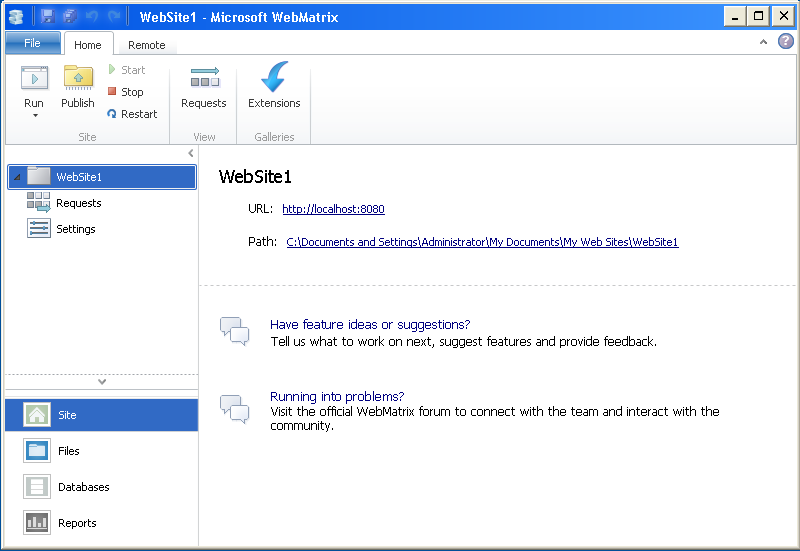
3.1) When WebMatrix opens your Web Site project, the left panel shows the name WebSite1 (highlighted in blue color) and Site (look at the Home icon that is also highlighted in blue color).
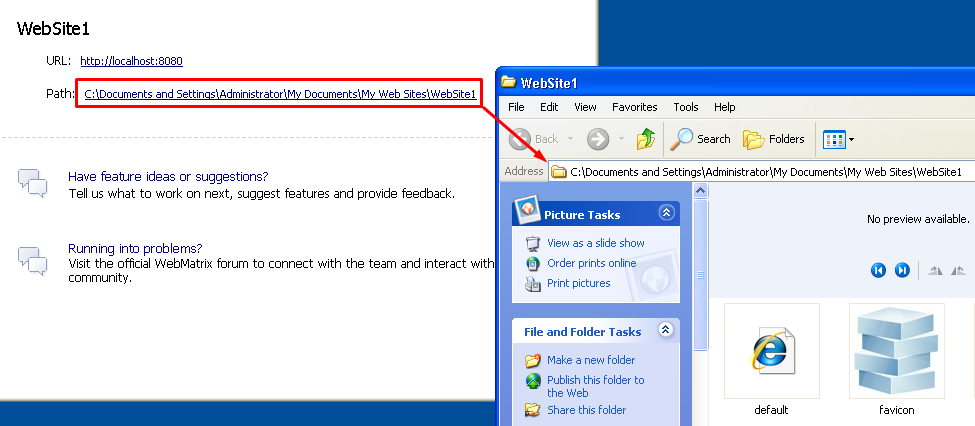
3.2) The Main Panel shows you two addresses.
It is called the Web URL (Unique Resource Locator).
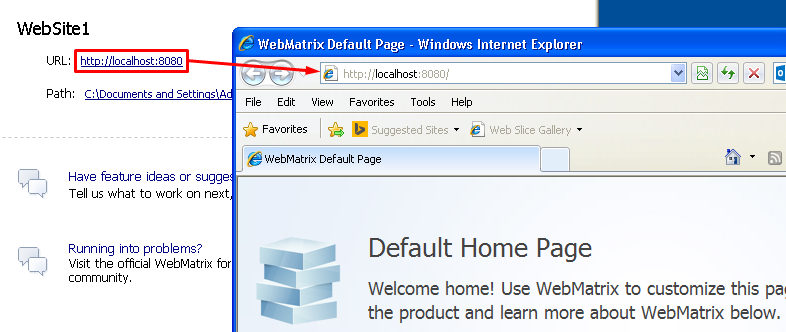
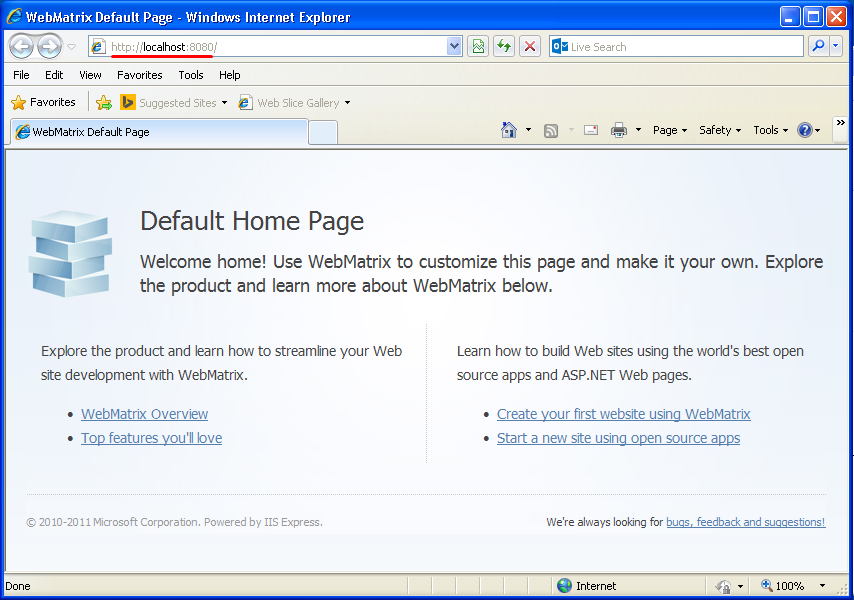
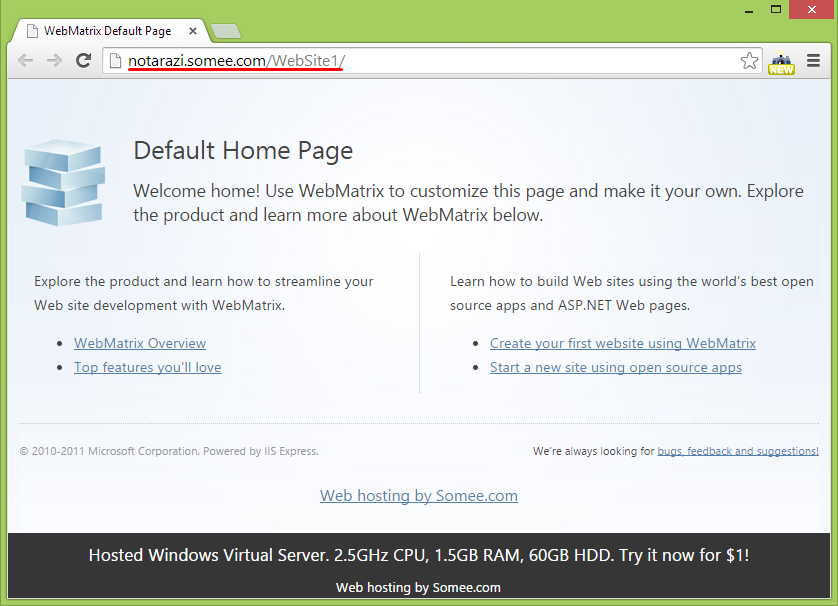
If you click this link, the Web Browser program will pop up and automatically open the URL.
Notice that in the main window, a web page is displayed. This web page is also called a Home page. It is the first page that you see when you visit the URL
http://localhost:8080.
Close the Web Browser and get back to WebMatrix.
The second address is C:\Documents and Settings\Administrator\My Documents\My Web Sites\WebSite1.
It is called the Web Folder.
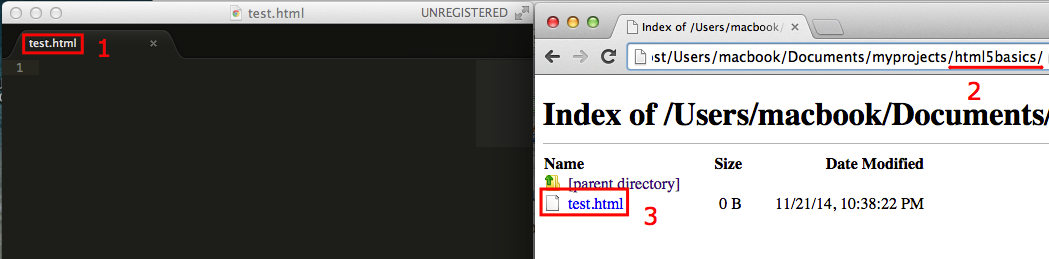
If you click this link, a File Explorer will pop up and display the files and folders located at the address.
3.3) When you develop web projects, you are going to work with these two addresses.
First you prepare the web documents in the Web Folder.
Then, you view the results at the Web URL.
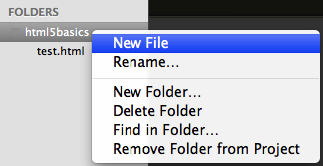
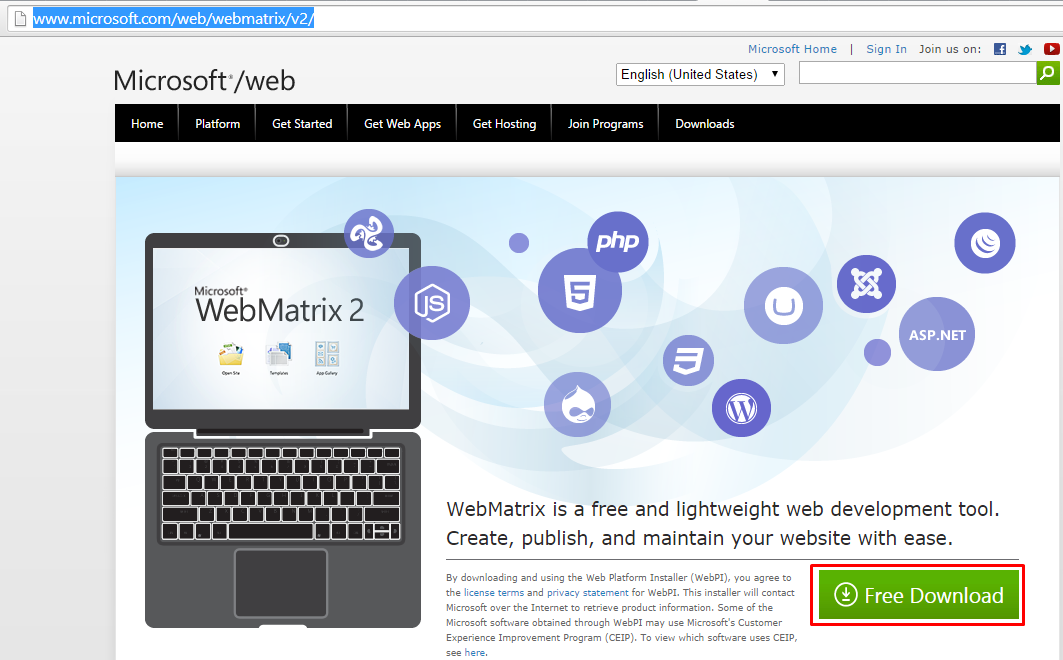
4) Editing the Web Page
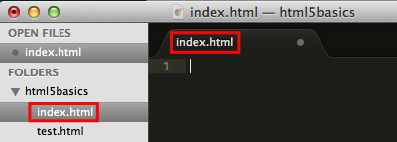
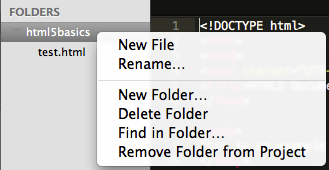
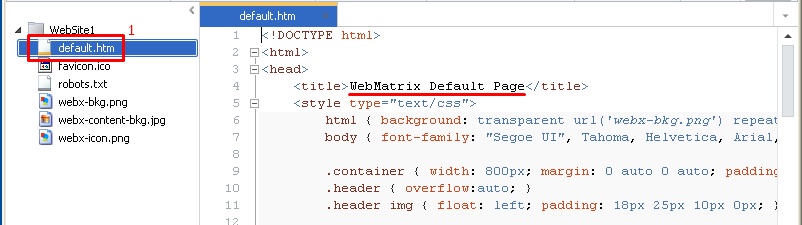
4.1) Click the item Files and you will notice that the above panel shows a new content.
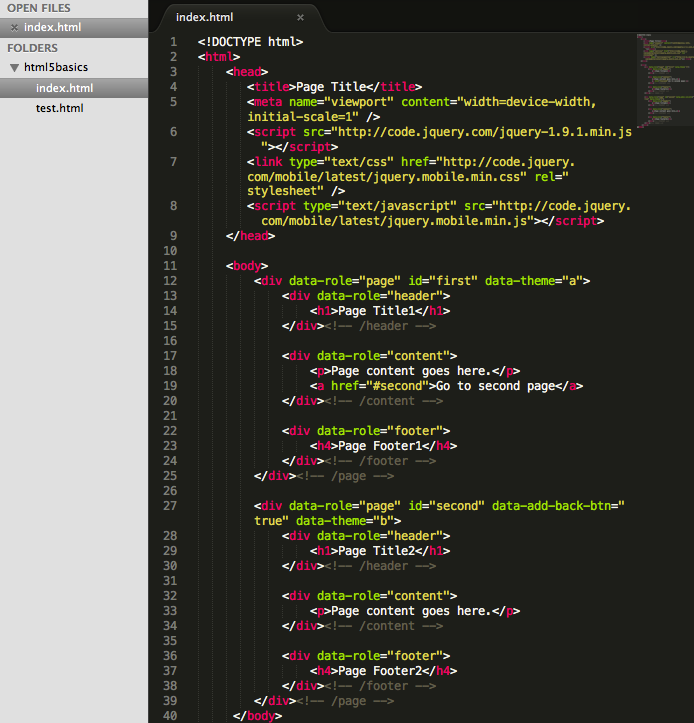
4.2) Double-click the item default.htm
Notice the text “WebMatrix Default Page”.
4.3) Change the text to “My First Web Page”
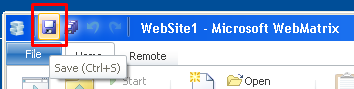
4.4) Notice that the title “default.htm” has a symbol “*” besides it.
It means that the content of the file has been changed.
Click the save button.
As you can see in the screenshot above, you can also press the keys CTRL and S simultaneously to perform the save task.
The “*” should have gone now.
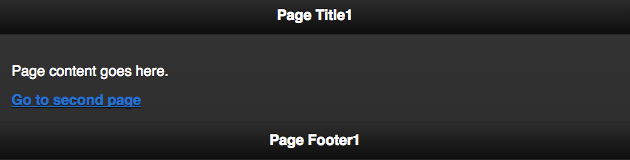
Click the Run button.
Notice that the Web Browser now shows the title “My First Web Page”, ie the text that you have just entered just now.
---