
---
PREPARING WINDOWS XP FOR DEVELOPMENT PROJECTS
STEPS
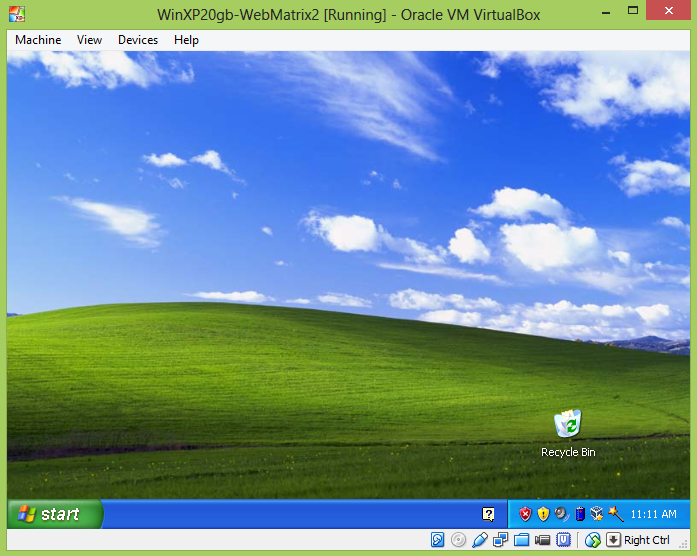
1) Turn on the PC.
Windows XP starts with the default green hill and blue sky.
2) Click START Button.
You get a menu of program and resource shortcuts.
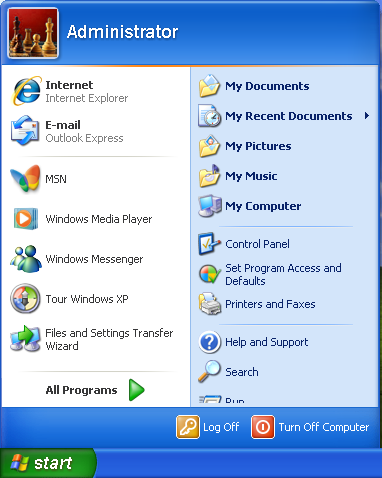
3) Select My Computer short cut.
3.1) My Computer refers to the device resources in your computer.
3.2) When you click My Computer item in Start Menu, Windows will run a program called File Explorer.
3.3) File Explorer automatically opens My Computer resources and you will see items as shown below:
- Shared Documents
- Administrator’s Documents
- Local Disk (C: Drive)
- CD Drive (D: Drive)
- Network Drive (In the example below, it is labeled with E: Drive)

4) Root of Local Drive
4.1) Root means “the start” or “the parent”.
4.2) Double-click Local Disk (C: Drive) . You should be able to see the child items of it.
4.3) Click the Views button and select Details.
4.4) You will see a list of child items such as “Documents and Settings”, “Program Files” and “Windows”. The items represented by a yellow folder icon are called folders or directories.
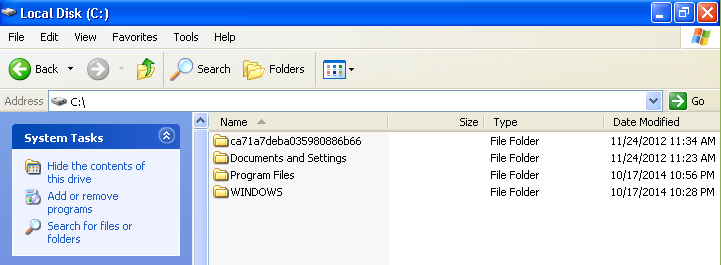
4.5) The location above is called a ROOT for C: Drive. From here you will be able to explore child items in the sub folders of “Documents and Settings”, “Program Files” and “Windows”.
5) Folder Tree View
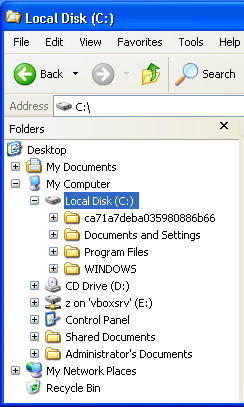
5.1) Click the Folders icon in the Tool Bar.

5.2) File Explorer will display a tree structure in the side panel.
Notice that the item Local Disk (C: Drive) is highlighted. It means that the File Explorer is currently displaying the root of C: Drive.
6) Creating a Project folder
6.1) Bring your mouse to an empty area in the folder list (marked as X), right-click and select New/Folder.
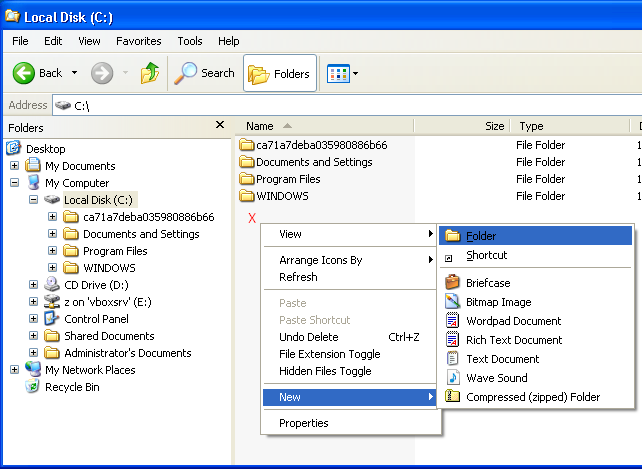
6.2) A new folder is created in the list.

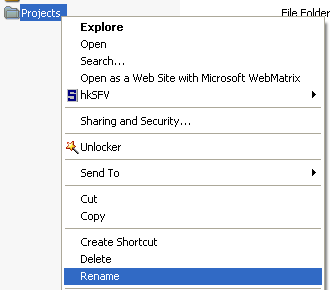
6.3) Type a new name “projects” and press Enter key.

6.4) You can rename the folder at any time by clicking the folder, right-clicking and selecting Rename.
---
No comments:
Post a Comment